
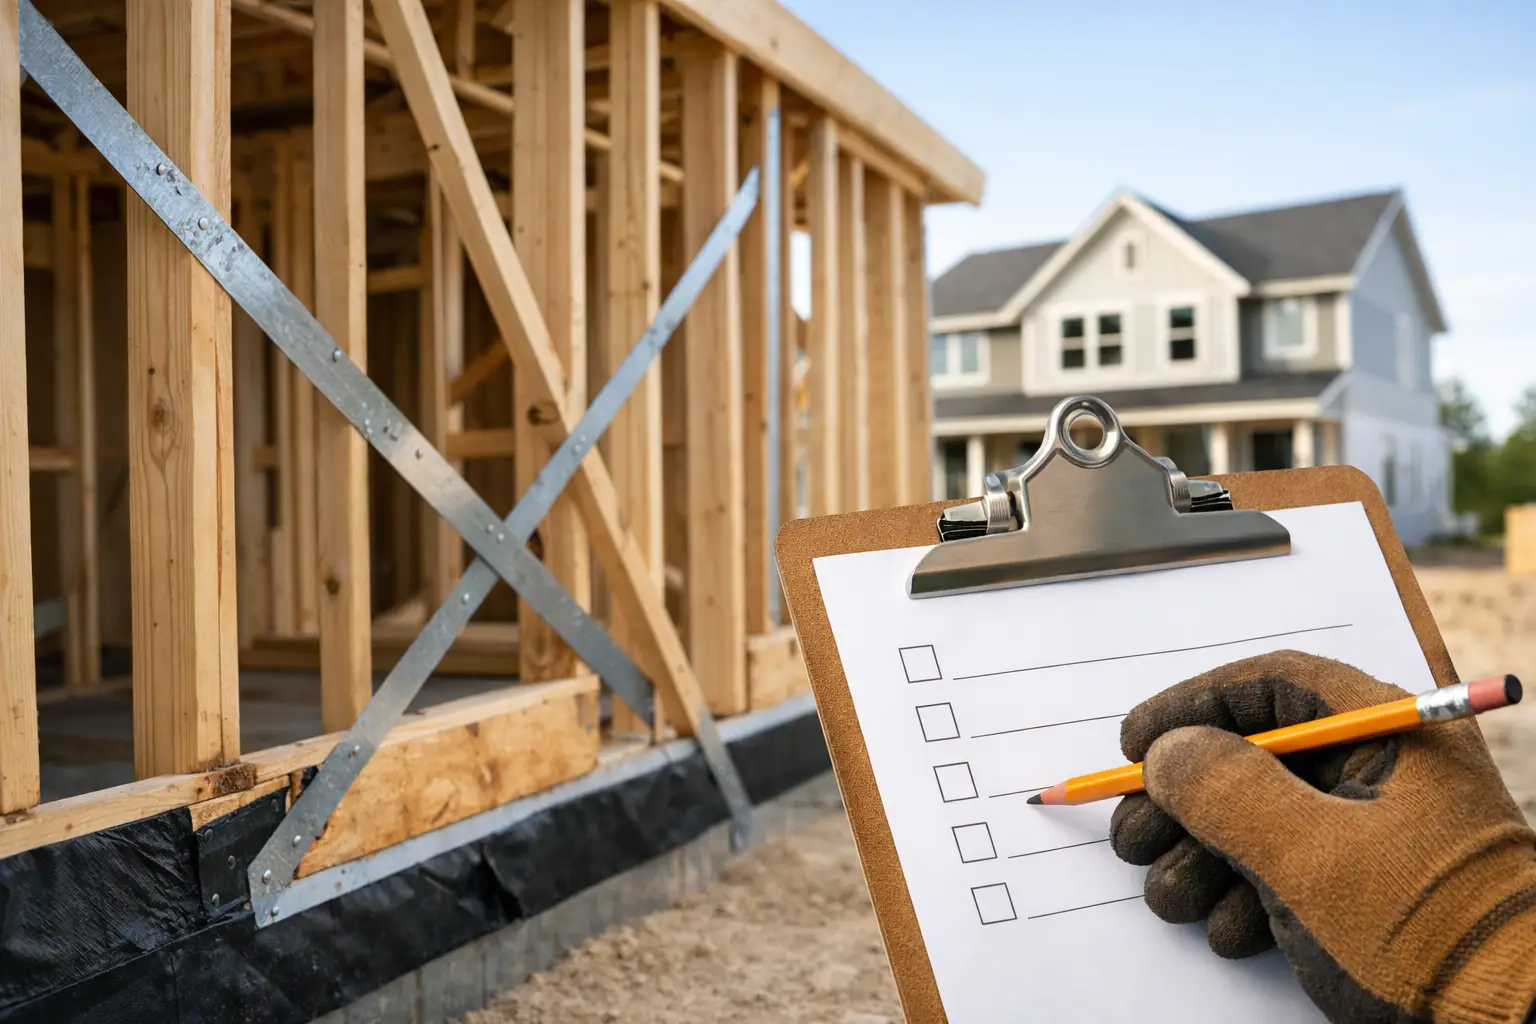
A finished home can look exceptional while serious defects sit behind plasterboard, cladding and roof linings. That is why a proper bracing and flashing checklist matters on every new build, knockdown rebuild and major renovation. These are not cosmetic details. Bracing keeps the structure stable under wind loads; flashing manages water before it reaches framing, insulation and internal finishes.
For homeowners, the key is not to become the site supervisor. It is to understand what competent builders, engineers and inspectors should be checking at the stages when these elements are still visible and can be corrected properly.
Why bracing and flashing deserve close attention
Bracing and flashing do different jobs, but both protect the long-term integrity of a home.
Wall and roof bracing resists sideways forces caused by wind. In Melbourne and regional Victoria, wind exposure can vary considerably between a sheltered suburban block, a coastal site and an elevated regional property. The bracing layout must suit the approved engineering and framing design, rather than being treated as a generic carpentry detail.
Flashing directs water back to the exterior at vulnerable junctions: around windows and doors, where roofs meet walls, at chimneys, penetrations and changes in cladding. If water is allowed into a wall cavity or roof space, the eventual consequences can include swollen linings, timber decay, mould, corrosion and costly rectification.
Neither item is easy to assess once the house is closed up. Bracing is concealed behind plasterboard and external linings. Flashings are partly hidden by roof coverings, wall cladding, render or masonry. Quality is established through the right details, installed in the right sequence, then checked before the next trade covers the work.
Bracing checklist: stability starts with the frame
The building permit documentation, structural engineering and approved plans set the requirements. A site checklist should confirm that the installed work matches those documents, not replace them.
Confirm the bracing locations and type
Bracing walls should be located where the engineer or frame design specifies. They cannot simply be moved because a room layout changes, a window grows wider or a service conflicts with the wall. Even an apparently small site variation may reduce the bracing capacity required for that elevation.
Check that each nominated bracing panel is present and clearly identifiable before linings go on. Depending on the design, bracing may be provided by structural plywood, fibre-cement sheet, metal strap bracing, proprietary wall bracing systems or another engineered method. Each system has specific fixing, edge distance and installation requirements.
Check fixings, hold-downs and continuity
A bracing sheet only performs as designed when its fasteners are correct. This includes the nail or screw type, spacing, fixing pattern and any specified adhesive. Missing fixings, oversized spacings or substitutions made without engineering approval can materially reduce performance.
The force travelling through a bracing wall must also have a continuous path into the floor and footing system. That is where bottom-plate anchors, tie-downs, straps and hold-down connections matter. At upper levels, the connection between roof structure, wall frames and lower floors must be coordinated, particularly on double-storey homes and more complex architectural designs.
Protect bracing from unapproved alterations
After the frame is erected, other trades need pathways for plumbing, electrical cabling, heating and ventilation. That does not give anyone licence to cut, drill or remove part of a bracing element. Service penetrations and alterations need to be considered against the structural documentation before work proceeds.
This is a common coordination issue in renovations and dual occupancy projects, where services can be dense and wall layouts more complex. Good project management resolves clashes before they become a patch-up exercise on site.
Inspect at the right stage
The most useful bracing inspection happens after frame completion and before insulation, plasterboard and external wall linings conceal the work. The inspector should be working from the approved structural documents and relevant standards, including the applicable timber framing requirements and engineer’s details.
Photographic records at this point are valuable. They provide a clear record of what sits behind the finished walls and support a disciplined handover file.
Flashing checklist: manage water at every junction
Flashing is not a single product. It is a system of compatible materials and details designed to shed water outwards. Its performance depends on laps, falls, upstands, drainage paths and the sequence in which it is installed.
Windows and external doors
Openings in external walls need careful preparation before the window or door is fitted. The wall wrap or weather-resistive barrier must be detailed so water is directed to the outside, rather than trapped behind the cladding. Sill flashings, jamb flashings and head flashings need to overlap in a way that follows the path of water downward and outward.
A head flashing above an opening should extend beyond the opening where required and discharge correctly over the cladding system. It should not terminate where water can run behind the façade. The exact detail depends on whether the home uses brick veneer, lightweight cladding, render systems or a mixed façade, so there is no one-size-fits-all installation.
Roof-to-wall intersections
Where a roof meets a wall, flashings must stop wind-driven rain from entering while allowing water to drain freely. Apron flashing, step flashing, cavity trays and soakers all have different roles depending on the roof pitch, roof material, wall construction and junction geometry.
This is especially important where extensions meet existing homes. Older structures are rarely perfectly square or level, and the interface between old and new work needs a properly considered detail. Relying on sealant alone is not a durable solution. Sealant may be part of a system, but formed metal flashings and correct laps do the heavy lifting.
Roof penetrations and changes in direction
Skylights, flues, vents, solar penetrations and plumbing pipes create openings through the roof covering. Each must use a compatible flashing or boot designed for that roof material and pitch. The work should be installed without excessive cuts, lifted tiles, unsupported sections or exposed fixings that create a future leak point.
Valleys, parapets, box gutters and roof transitions also require close attention. These areas handle concentrated water flows, so the size, fall, overflow provision and workmanship are critical. Complex roofs can be visually striking, but they carry more junctions and more maintenance responsibility than a simple roof form. This is a design trade-off worth discussing early, before plans are locked in.
Brickwork, cavities and cladding transitions
In masonry veneer construction, cavity flashings and weepholes provide a controlled exit for moisture that enters the cavity. Weepholes should not be blocked by mortar, landscaping, paving or later alterations. Flashing needs to be positioned to direct water towards these drainage points.
At transitions between brick, render, timber, metal or fibre-cement cladding, the layers must be coordinated. Different materials move differently with temperature and moisture. A tidy-looking joint is not enough if it lacks a drainage path, compatible flashing or appropriate separation.
The inspection points that protect the build
A disciplined builder plans inspections around construction stages, rather than relying only on the final walkthrough. For bracing and flashing, the most important checks generally occur at frame stage, before external cladding is fully closed, during roof installation, and at practical completion.
At each stage, the questions should be straightforward: Does the work match the approved drawings and engineering? Are the specified materials and fixings in place? Has water been given a clear path to the exterior? Has any variation affected a structural or weatherproofing detail? Are photographs, inspection records and any approvals properly documented?
Not every issue requires major rework. Sometimes a correction is simple when identified early: an omitted fixing, incorrectly lapped wrap, missing end dam or poorly positioned flashing. Left concealed, that same issue can become a disruptive and expensive problem years later.
What homeowners should ask their builder
Ask when the frame and weatherproofing inspections will occur, who conducts them, and how findings are recorded. Request confirmation that bracing follows the structural documentation and that flashings are being detailed for the specific façade and roof system, not treated as an afterthought.
It is also reasonable to ask how site variations are controlled. A builder should be able to explain the process for changes that affect windows, doors, wall openings, roof penetrations or structural walls. Clear answers are a sign of sound project control.
At Builda Group, these concealed stages are treated with the same care as the finishes clients see every day. The best time to protect a home from movement and water ingress is before the walls are closed and the roof is complete. That is where disciplined building makes its lasting difference.