
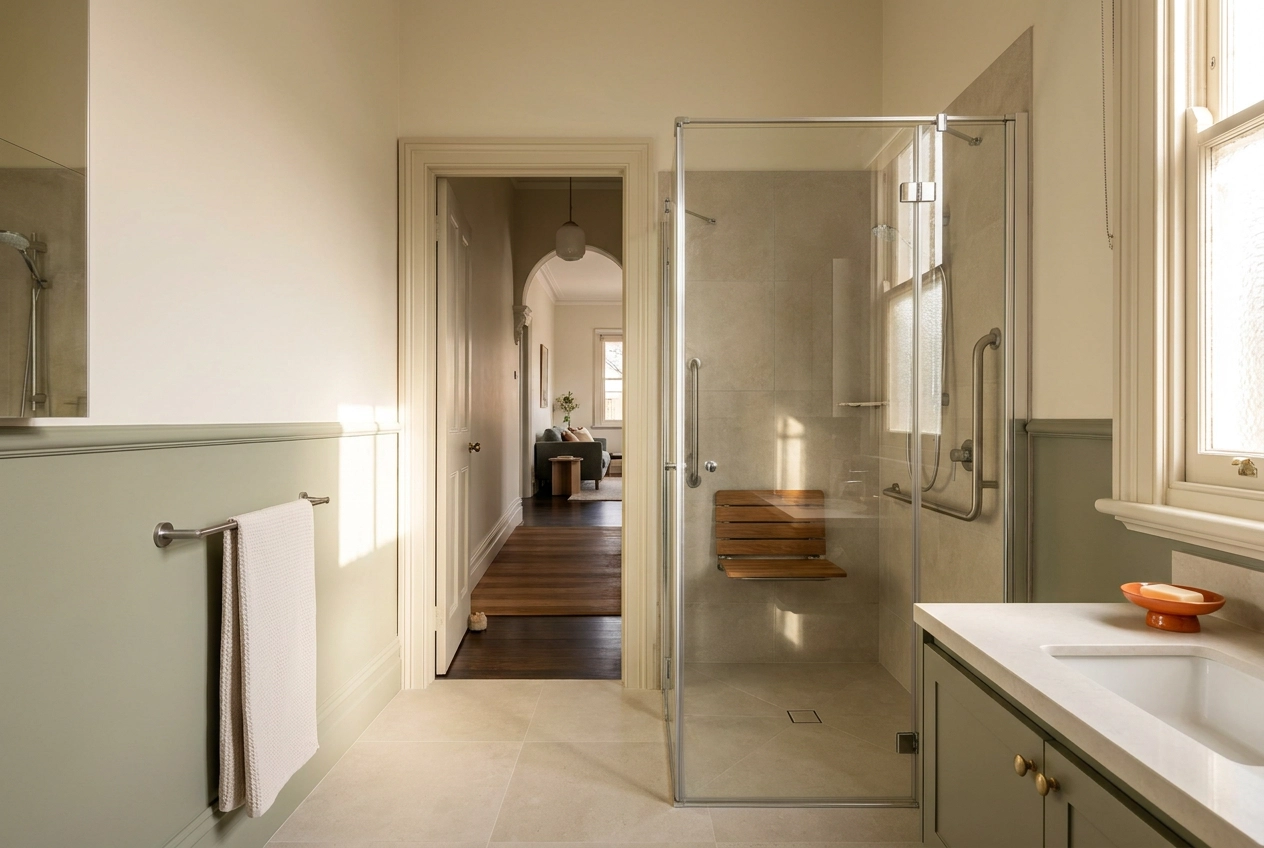
A bathroom can meet every fixture checklist and still fail if you cannot reach it. That is the hard truth behind accessible toilet design in Melbourne homes. Toilet positioning matters, but so do door swings, thresholds, corridor width, and the step-free route that gets you to the bathroom door. An accessible bathroom that cannot be entered independently does not solve the problem.
This tutorial covers the connective details outside the room. You will learn why the route decides everything, what the Livable Housing Standard requires now, what changed under the NCC in 2022 and which buildings it covers, where Victoria sits and how compliance is shown, and how step-free access, doors, corridors, thresholds, and floor levels shape the result. We also cover pan positioning and transfer space, wall reinforcement and grab rails, step-free shower access, tap and rail heights, new build versus retrofit, assessment on a Melbourne home, and what to do before you choose a fixture.
As builders with a Domestic Builder Unlimited licence, we work across Melbourne and surrounds on new residential builds, renovations and extensions, unit developments, NDIS accessibility modifications, and insurance repair works. Before you choose a fixture, get the route and the accessible toilet right.
Why the Route to the Bathroom Decides Everything
An accessible toilet nobody can reach independently solves nothing. The room and the path to it are one system. A bathroom can meet every design element on paper and still fail daily if internal doors, corridors or floor levels break the route. Compliance is a floor, not a finish line.
Livable Housing Australia’s 2017 guidelines put up-front adaptable design at 22 times more efficient than retrofitting, citing international research. A 2017 claim, not a current Australian figure.
This guide covers the standards framework, step-free access, thresholds, door swings, the toilet, and the shower and fixtures that finish the job. Melbourne homeowners planning NDIS modifications, ageing-in-place renovations, or a new build with future needs in mind should read it alongside our wheelchair accessible bathroom design resource.
What the Livable Housing Standard Requires Now
Livable housing design moved from voluntary guidelines into the National Construction Code, so it now sits inside approval and design, not a wish list. The guidelines rest on 15 design elements; several cover toilets, showers, internal doors, corridors and wall reinforcement. For a disabled toilet standards Australia PDF, start with the primary documents: the ABCB Livable Housing Design handbook 2022 and the Victorian Building Practitioners Board’s livable housing design requirements. For the local overlay, see our guide to Victorian building regulations and accessibility standards that apply. Before quoting any dimension or clause, confirm it against the current handbook and guide. Secondary summaries drift out of date, and so does memory.
What Changed in 2022 and Which Buildings It Covers
NCC 2022 introduced livable housing requirements based on Silver level of the Livable Housing Design Guidelines, with Gold voluntary. They apply to Class 1a dwellings (houses and townhouses) and Class 2 sole-occupancy units, covering most Melbourne projects.
Adoption varies: most jurisdictions from October 2023, Tasmania’s Part H8 from 1 October 2024, and NSW exempts Class 1a buildings. Check the Victorian building regulations and accessibility standards that apply locally.
Several of the requirements concern the bathroom directly: movement through internal doors and corridors, ease of using a toilet, and step-free shower access with reinforced walls. The rest cover access and entrance, so route in matters. ABCB handbook revised November 2023 to align with LHS v1.3; earlier publications may be out of step.
Where Victoria Sits and How Compliance Is Shown
Victorian designers and builders work from the Victorian Building Practitioners Board’s guide to livable housing design requirements, which explains when the standard applies and how compliance is demonstrated. Verify Victoria’s adoption date and any local variations before relying on any single source.
Documentation satisfies an authority; measurements on site satisfy the person using the room. Those are different tests, and a room can pass the first while failing the second.
For existing homes, a renovation may not trigger the standard at all, yet the same practical problems apply. That gap is where most retrofit projects begin. What follows starts there, at the path into the room.
The Route In: Step-Free Access, Doors and Corridors
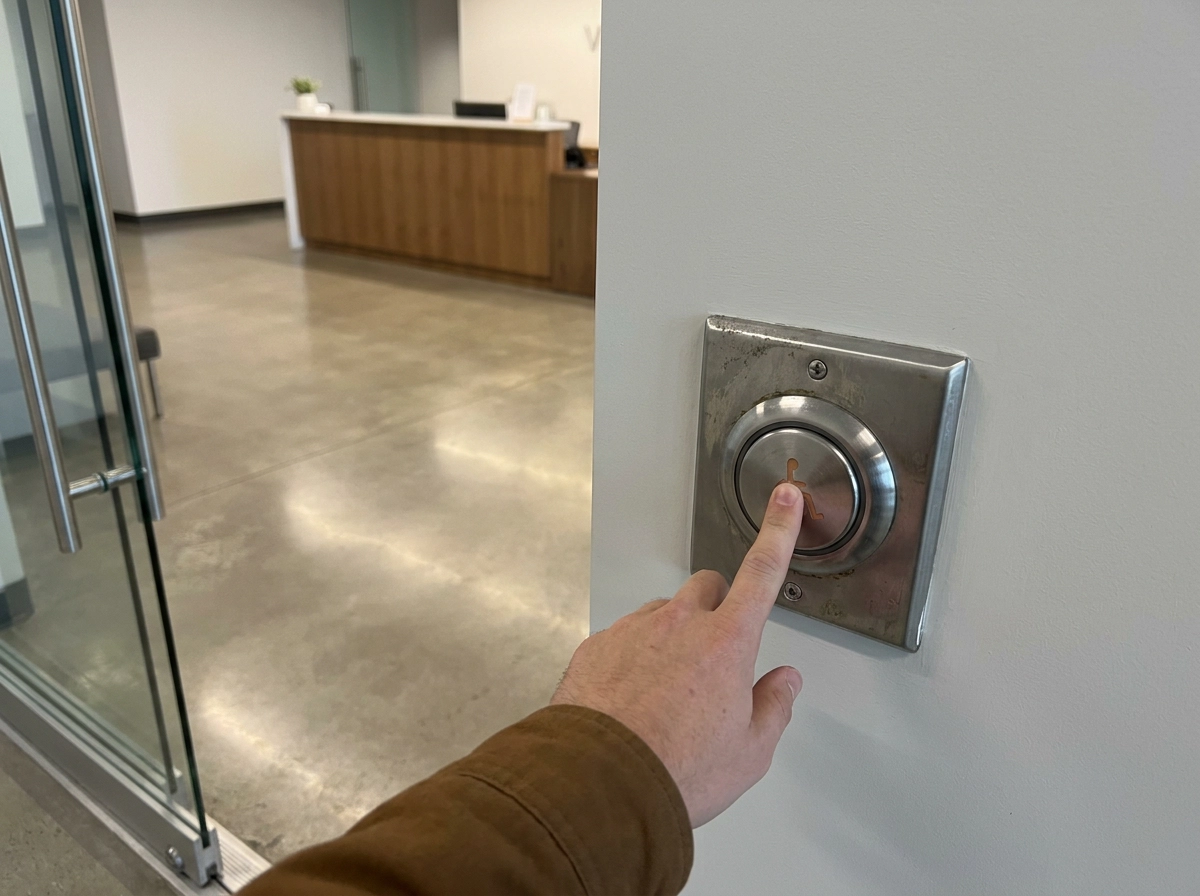
Compliance on paper is half the job. The ABCB handbook assists in understanding the step-free access path requirements under Part G7, NCC Volume One, and Part H8, Volume Two, with parking space incorporated into that path also addressed.
That path runs from street or parking, through the entrance, along corridors, through every internal door, to the bathroom door. One break defeats it. Common Melbourne failures: front-entry steps, hallway-to-living level changes, raised bathroom floors over bearers and joists, and corridors narrowed by joinery or a nib.
Record level changes over the route, corridor widths, doorway openings, swing space and obstructions. Measured drawings and photos beat assumptions.
Settle the path and doorways before bathroom fit-out; that order is almost always cheaper. A level-entry shower depends on the same discipline: Full Level Entry Showers as a Comprehensive Alternative.
Door Swings, Clearances and Hardware
Internal doors and corridors are a named design element in the Livable Housing Australia guidelines, so they sit inside the standard, not beside it. Swing direction matters as much as opening width: a door swinging into a small bathroom blocks the space it exists to serve. Where a standard swing will not work, the options are an outward-swinging door, a cavity slider, or offset hinges, each trading away privacy, wall space or sound separation. Door and tap hardware is listed separately in the guidelines, lever handles and lever taps are the practical response to the grip demands the standard addresses. Confirm clearances and permitted openings against the current NCC/ABCB handbook and the Victorian Building Practitioners Board guide before you rely on a figure. Enabling works for NDIS accessibility modifications often start here, at the framing stage.
Thresholds and Floor Levels
Door hardware and swing sorted, the floor under the threshold decides the rest.
Threshold height and profile decide whether a wheelchair, walker or shower chair crosses the bathroom door cleanly; a minor showroom lip stalls a chair on a wet floor. Apply the same test at the entry and every transition, especially new slab meeting existing timber. Where several levels are involved, assess your specific accessibility needs first.
Waterproofing shapes these levels: fall to waste, membrane heights and tiling set-outs all move the finished floor, so settle them at design stage, not after tiling. Retrofitting a level entry into a raised floor usually means rebuilding the floor structure, which is why cost sits in the substrate, not the fittings.
Confirm current figures in the ABCB handbook and the Victorian Building Practitioners Board guide.
Getting the Accessible Toilet Right
Ease of movement using a toilet is one of the bathroom-relevant livable housing requirements. The pan cannot be set by the usual rules.
An accessible toilet is a layout decision before it is a product decision. Space beside and in front of the pan, and the distance to the nearest wall, decide what is possible. In an existing home, window positions, floor waste locations, structural walls, door position and room depth narrow the options further.
The next two sub-sections cover the numbers and the reinforcement behind the walls. Both are settled before the walls close.
Pan Positioning and Transfer Space
Layout depends on three things: clear space alongside the pan for a wheelchair or walker, frontal and side transfer space for someone leaving a chair, and wall within reach for grab rails.
Don’t guess the numbers. Clearances and set-outs for an accessible toilet come from the current ABCB Livable Housing Design handbook and the Victorian Building Practitioners Board guide; unverified figures are worse than none.
The pan is the hardest element to retrofit: it sits against walls carrying structure, drainage and windows, and moving the pan means moving the waste.
In tight rooms, an offset or corner pan, a wall-hung pan with concealed cistern, or relocating the door frees wall space.
Involve the person who will use the toilet. Layouts signed off from a plan alone are where compromises start.
Wall Reinforcement and Grab Rails
Settle rail positions before the walls close, same as the pan. Bathroom and toilet wall reinforcement is a named element in the Livable Housing Australia guidelines, so noggings and backing go in at framing stage, not after sheeting.
The economics are blunt: backing while the frame is open is a small line item. Add it later and you are removing tiles, reinstating waterproofing and re-tiling. That is where up-front adaptability earns its keep, and where LHA’s retrofit penalty shows up.
Set rail positions with the user or their occupational therapist, covering the shower, the pan and, where relevant, the basin. The same backing carries a fold-down rail, shower seat or ceiling hoist anchor point where the structure allows. The shower is the first place that reinforcement proves its worth.
The Shower and Accessible Bathroom Fixtures
Step-free shower access with reinforced walls for grab rails is a bathroom-relevant livable housing requirement. It is also where the design either works easily or fights the user every day, even when the room and the route in are right.
The lesson for fixtures is straightforward: fixtures follow the layout, they do not lead it. Buying a basin, tap set or screen before the pan position, clearances and rail heights are settled is exactly how bathrooms end up compromised, with a screen that blocks transfer space or a basin a seated user cannot reach.
Step-Free Shower Access
A level-entry shower is a floor-build decision, not a fitting swap. The fall to waste, waste position and waterproofing must be designed together; retrofitting one into an existing bathroom usually means rebuilding the floor, not simply removing the hob.
Screens and doors shape transfer space. Hinged and pivot screens swing into where a chair or carer needs to be, so consider a fixed panel, a bi-fold, or a curtain track instead.
Fittings complete the job: a handheld shower on a slide rail, a wall-mounted seat where framing allows, and rails positioned within reach of a seated person.
Plan storage for a shower chair or commode. Storage that blocks the door swing undoes the work.
Accessible Bathroom Fixtures: Taps, Rails and Fit-Off Heights
With the shower resolved, the fittings finish the job. The fixtures that earn their place are lever or mixer taps, a handheld shower on a slide rail, a basin set at a height a seated user can reach, and a mirror that tilts or lowers.
Fit-off heights for the basin, mirror, tap and rails are not template items. Set them with the person who will use the room, or their occupational therapist. Tap hardware is a named design element in the guidelines alongside door hardware, Element 12 of the Livable Housing Design Guidelines, because fitting choice matters beyond aesthetics.
Plan for servicing: concealed cisterns and wall-hung pans need an access panel or a workable removal path. Look for function, not brands; the layout decides what fits.
New Build or Retrofit: Where the Work Actually Sits
Fixtures settle last for a reason. In new Class 1a builds, livable housing requirements sit inside design and approval, so the route, doorways and thresholds are design-stage decisions, where they cost least.
Existing homes rarely trigger the standard. Regulation 233 leaves alterations to the relevant building surveyor’s discretion, yet the practical problems remain. The route in, not the bathroom, is usually where the budget goes.
Melbourne’s older stock sets the constraints: stepped entries, hallway pinch points in weatherboard and brick homes, raised bathroom floors over bearers and joists, and heritage or brickwork limits on wider doorways. Insurance repairs and NDIS work often start from a damaged or ageing home, so sequencing changes.
Order of works is the cheapest lever: path, doorways and thresholds first, fit-out second.
How These Details Get Assessed on a Melbourne Home
Whatever the starting point, assessment is a walk-through, not a plan review. Walk the route from the street to the toilet with the person who will use it, or their occupational therapist, noting level changes across the whole route, corridor widths, doorway openings and swing space, pan clearances, rail positions, and where existing services run.
Getting Builda Group on site early matters: reinforcement, doorway changes and threshold work cost least while the framing is still open, and 10+ years across Melbourne homes means constraints usually surface before plans are finalised.
Where the standard and the house disagree, the fix is usually a layout change plus a small structural change, not a workaround that only works on paper.
What to Do Before You Choose a Single Fixture
With the assessment done, sequence matters more than any single measurement. Choose nothing until you know the route works: if the path from entry to pan is not step-free, a compliant bathroom still fails in daily use.
Check the current requirements yourself. The NCC provisions govern compliance, not supplier brochures or dated summaries; the ABCB Livable Housing Design handbook and the Victorian Building Practitioners Board guide are the right starting points.
That cost gap is why the framing-stage checklist matters, confirm it before any fixture is ordered.
Modifying a Melbourne home for accessibility or with NDIS funding? Have the entire route assessed, not just the room.
Conclusion
Every section above builds to the same point: route first, fixtures second.
Getting Builda Group on site early means constraints surface before plans are finalised. Start by walking the route, then build it right.