
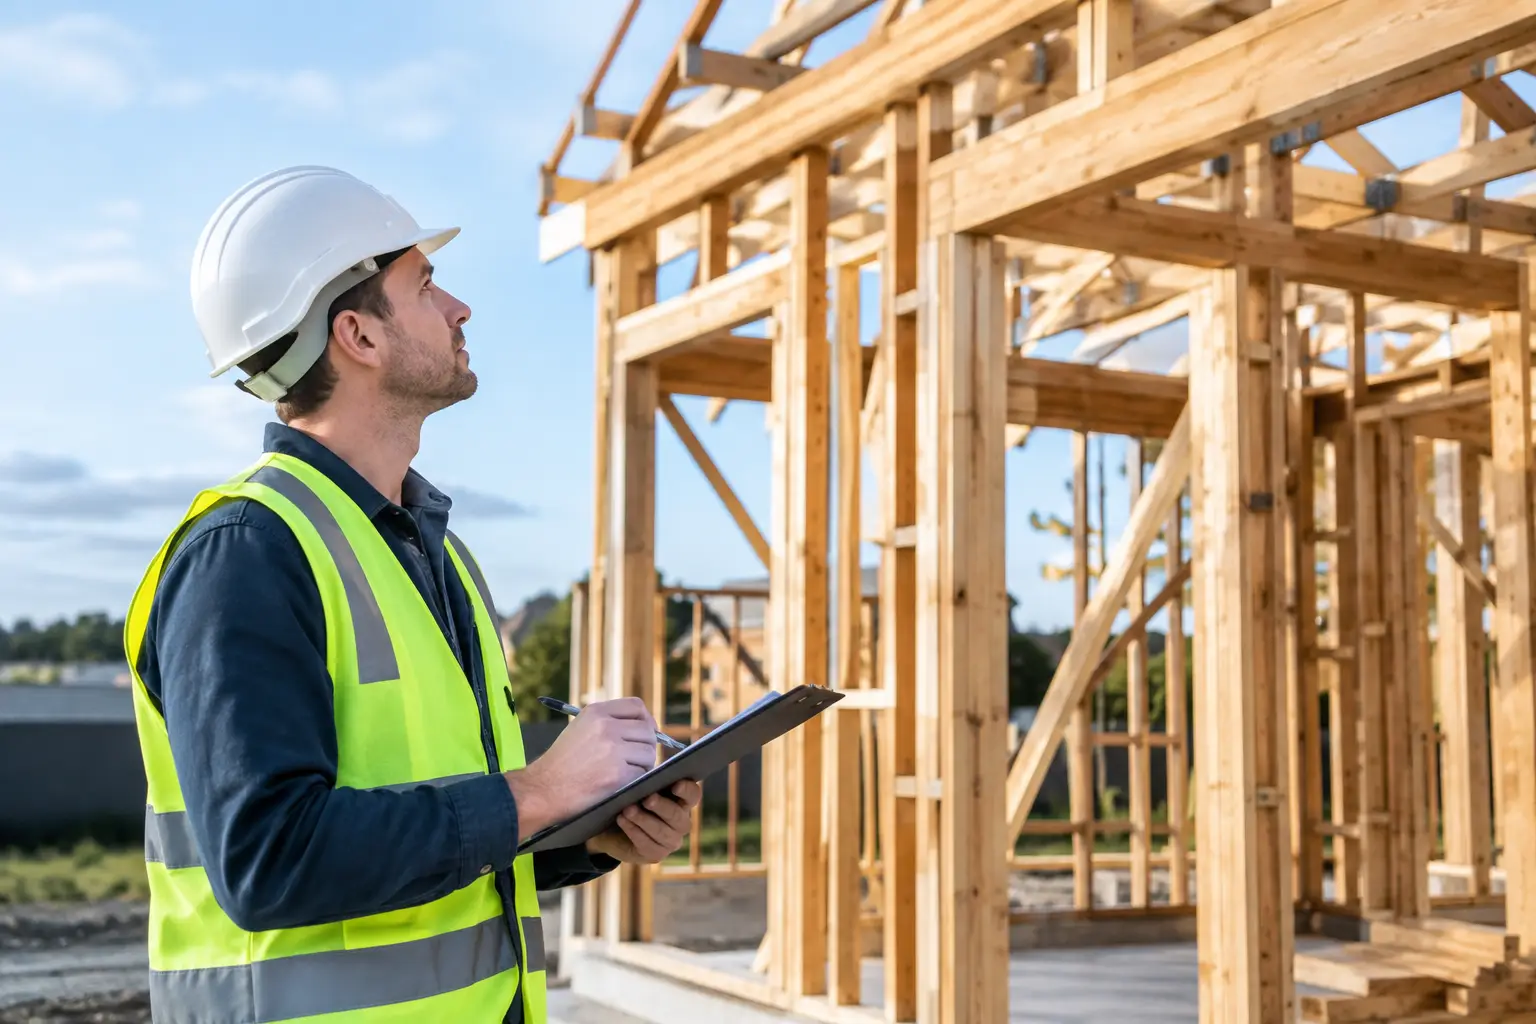
The frame is the point where a home stops being lines on a plan and becomes a structure you can properly assess. This framing inspection guide explains what homeowners should look for before insulation, plasterboard and cladding conceal the work. It is not about hunting for minor cosmetic imperfections. It is about confirming that the structural skeleton has been built to the approved design, supported by the right documentation and ready for the next stage.
For a custom home, major renovation or dual occupancy build, this inspection matters because corrections are usually straightforward while the frame is exposed and far more disruptive once internal linings are installed. A disciplined builder treats framing as a hold point, not a box to tick on the way to finishes.
What a framing inspection should cover
A framing inspection reviews the timber or steel wall frames, floor systems and roof structure after they are substantially complete, but before the walls and ceilings are closed. Depending on the project and permit requirements, the relevant building surveyor will carry out mandatory stage inspections. Your builder may also conduct internal quality checks, and some owners appoint an independent inspector for another set of experienced eyes.
These roles are different. A mandatory inspection is focused on regulatory requirements and the building permit. An independent inspection can provide a detailed client-side review. A builder’s own inspection is where quality control should happen day to day, with issues identified and rectified before they become someone else’s problem.
The exact scope depends on the construction method, engineering design, site conditions and whether the work is a new build, extension or knockdown rebuild. A ground-floor extension tied into an existing weatherboard home, for example, needs careful attention to the connection between old and new structures. A double-storey home may have more complex load paths, steel members and engineered connections to verify.
Start with the approved documents
The inspection should not begin with a tape measure alone. It begins with the documents that explain what has been designed and approved: architectural drawings, structural engineering plans, framing layouts, truss documentation, specifications and any approved variations.
The practical question is simple: does what is on site match what is documented? That includes wall locations, structural beams, lintels over openings, bracing locations, posts, hold-downs and roof members. A change that looks small on site can alter loads, clearances or the performance of the building envelope.
Where an engineer has nominated a particular member size, connection detail or proprietary product, substitutions should not be assumed to be equivalent. They need proper approval and documentation. Good construction records make this clear rather than leaving future owners to guess what sits behind the plasterboard.
Check the structure is straight, level and properly supported
A frame does not need to look perfectly pristine to be structurally sound. Timber can have natural variation, and minor marks from handling are common. What matters is whether the frame is straight enough, securely fixed and constructed in line with the relevant standards, engineering and manufacturer requirements.
Wall frames should be plumb, aligned and adequately restrained. Floors should be level within the tolerances appropriate to the system. Look along long internal walls, window reveals and external elevations. Significant bows, twists or out-of-plumb walls are easier to identify now than after cabinetry, tiling and skirtings have been fitted.
Load-bearing points deserve particular attention. Posts must bear correctly on the elements below them, such as beams, walls or footings designed to carry the load. Beams and lintels should have the specified bearing at each end. In multi-storey work, the load path needs to continue all the way down to the footing system. A post that is slightly misplaced may affect more than one room – it may compromise how the building transfers weight to the ground.
Bracing and tie-downs are not optional details
Bracing is one of the most important parts of a framing inspection, especially in Victoria where buildings must manage wind loads appropriate to their site and design. Bracing prevents the home from racking sideways under wind forces. It may be provided by timber or steel braces, sheet bracing, structural panels or proprietary systems, as nominated in the design.
The inspection should confirm that bracing is in the right location, fixed with the specified fasteners and not cut, shifted or interrupted to make room for services. A wall may look complete while delivering very little structural restraint if a required brace has been altered.
Tie-downs, straps, anchors and connectors also need to be checked. These details connect roof to wall, wall to floor and floor to footing, creating a continuous chain that resists uplift and movement. The nails, screws, bolts and brackets matter. A connector is only as effective as its installation.
For trussed roofs, check that trusses match the supplier’s layout, sit on their designated supports and have appropriate temporary and permanent bracing. Trusses must not be cut or modified on site without written engineering direction. Cutting a web to clear ductwork is not a minor adjustment. It can materially reduce the truss capacity.
Openings, steelwork and service penetrations
Windows and doors are common areas for framing errors because they combine structural support with precise finish requirements. Opening sizes need to suit the selected windows and doors, including tolerances for installation, flashings and packers. Lintels should be correctly installed, adequately supported and sized to the design.
It is also worth checking that openings are square and positioned correctly relative to the plans. A poorly formed opening can lead to difficult window installation, uneven reveals, cracked linings or doors that do not operate properly. These defects are not always caused by the window supplier. Often, the problem started with the frame.
Steel beams and columns should be installed to the engineering details, including bearing, connections, corrosion protection where required and any specified fire protection to follow. Steel often appears in open-plan living spaces where large spans are required, so accuracy is critical to ceiling lines and finished levels.
Plumbing, electrical and mechanical services should be coordinated before linings go on. Holes and notches in studs, joists and beams must remain within permitted limits. If a trade needs a larger penetration, the answer is not to cut first and ask later. The builder should assess the issue against the framing standard and obtain engineering advice where necessary.
A practical framing inspection checklist
Use the following points as a conversation guide during a site walk-through. They do not replace the builder’s quality process, engineering certification or mandatory inspection requirements.
- Confirm the frame generally matches the approved plans, including room layout, wall positions, openings and ceiling heights.
- Check that specified beams, lintels, posts, bracing and tie-down connections are present and visibly secure.
- Look for obvious bowing, twisting, poor alignment, damaged members or unsupported joints.
- Verify roof trusses and framing have not been cut, drilled or altered without written approval.
- Review window and door openings for size, level, square and correct placement.
- Ask how plumbing, electrical, heating and cooling penetrations have been checked before plastering.
Take dated photographs while the frame is exposed. Photograph key structural areas, bracing walls, steelwork, wet-area framing, roof connections and any rectifications. This is useful project evidence and a valuable record for future maintenance or renovation work.
Questions worth asking your builder
A professional builder should be able to explain the framing stage plainly. Ask when the building surveyor inspection is scheduled or completed, whether there are any outstanding engineering items, and what internal quality checks have been undertaken before lock-up.
It is reasonable to ask about any variations made during framing, particularly where room dimensions, window sizes, structural members or roof design have changed. Request that approved changes are documented. Clear answers at this stage prevent misunderstandings when rooms start to feel smaller, larger or differently proportioned than expected.
If an independent inspector identifies an issue, do not assume it proves the project is failing. Some observations may be minor, already planned for rectification or based on information the inspector has not received. The right approach is to compare the finding with the approved documents, seek a clear response from the builder and involve the engineer or building surveyor where the issue concerns structural compliance.
Why the framing stage sets the standard
The quality of a finished home is often judged by paint, joinery and tiles. Those elements matter, but they cannot correct a frame that is poorly aligned, inadequately braced or carelessly altered. The unseen work governs how the home performs over decades, from how doors close to how the building manages wind movement and supports the roof above.
At Builda Group, framing is treated as a controlled construction stage with documented checks, not a rushed transition before the finishes begin. For homeowners, the most useful outcome of a framing inspection is confidence grounded in evidence: the right documents, the right people on site and clear confirmation that the structure is ready to be closed in.