
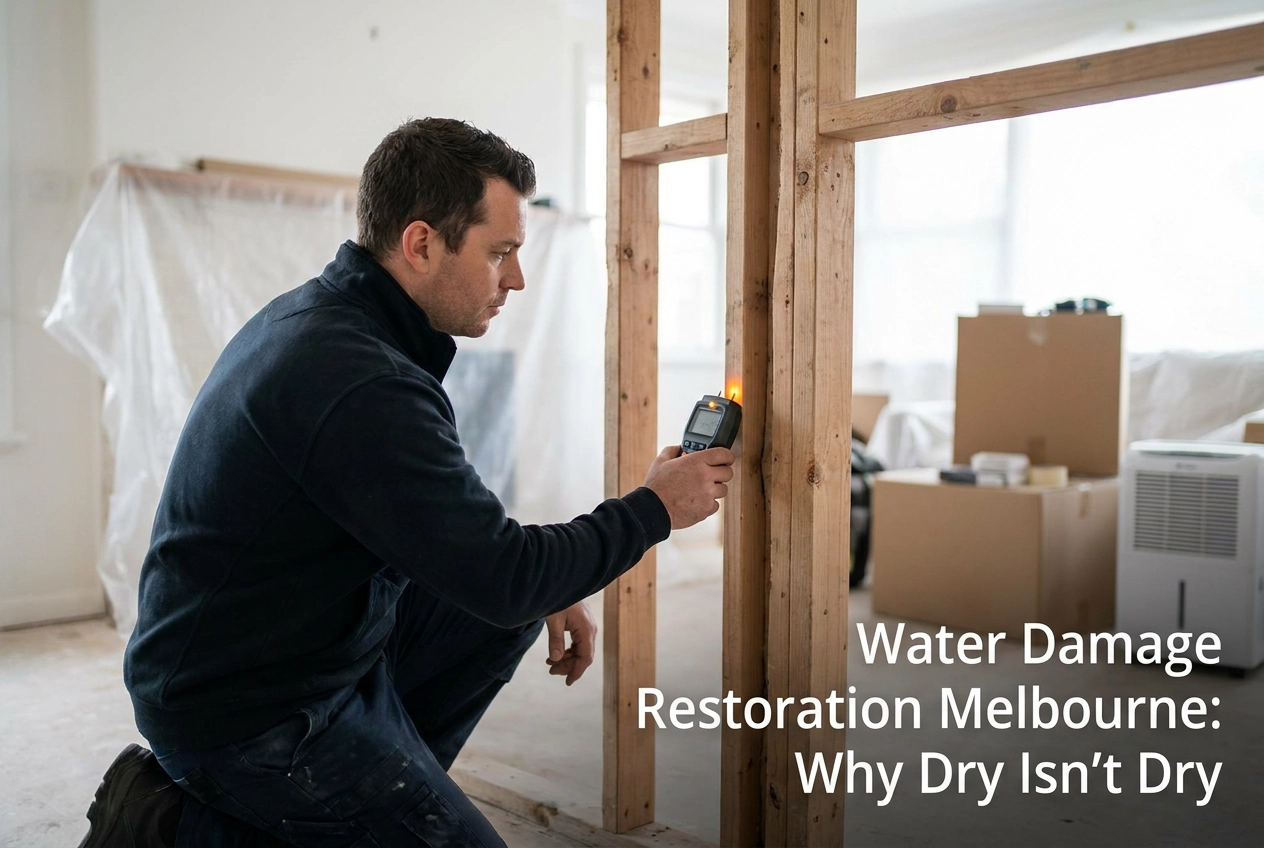
When a leak or flood is cleaned up, the floor can feel dry to the touch while moisture is still sitting in the subfloor, wall cavities and framing. That gap between appearance and reality is where insurance water repairs often go wrong. Water damage restoration is a staged process, not a cosmetic milestone you can eyeball. Drying has its own checkpoints, and those checkpoints determine whether new linings, plaster and finishes can go on without trapping moisture and undermining the repair.
This tutorial walks through the sequence properly. You will see why a repair is not finished when it looks dry, where water actually hides in a Melbourne home, and what gets checked before drying begins. We cover the drying checkpoints, what they confirm, and the pre-lining gate that must be cleared before new linings go on. We also explain why documentation matters, especially for insurance repairs, and when to bring in a licensed builder. As a Victorian builder with a Domestic Builder Unlimited licence, we handle insurance repair works across Melbourne and surrounds, so this is the standard we work to: verify moisture first, then rebuild.
Why a Water Damage Repair Isn’t Finished When It Looks Dry
Paint looks even. Plaster feels firm and cool to the touch. The floor stops squelching and the smell fades. Every signal a homeowner uses to call a water damage repair finished is a surface signal, and none of them tells you anything about what is happening behind the lining.
Water does not stay where you found it. It moves down and sideways through the path of least resistance, then sits at the lowest point of the structure. That is often the subfloor or the void beneath it, not the room you noticed.
Drying is a measurable stage, not a milestone you eyeball. It ends when readings and records say it ends, taken at multiple points across the materials that actually got wet. A wall that feels dry proves nothing about the timber fixed behind it.
Calling the job early is expensive, just not immediately. Trapped moisture lifts floor coverings, blisters paint, swells skirtings, corrodes fixings and feeds mould inside a cavity you have just closed up with new plasterboard. By the time those signs surface, the lining comes off again.
This guide follows the full flood restoration process from assessment through to reinstatement: what gets recorded, why drying carries its own checkpoints, and what has to pass before any new lining goes back on.
Where Water Actually Hides in a Melbourne Home After a Leak or Flood
Now that the surface signals are out of the way, here is where the moisture actually sits. Immediate Actions After Flooding covers the first-hour response; what follows is where water ends up once it has stopped moving.
Subfloor and floor structure. Water reaching the floor plane collects in bearers, joists, particleboard or ply sheeting, and the void beneath, where blocked ventilation points keep it trapped. This zone reads dry from above and stays wet far longer than the room suggests.
Wall cavities. Plasterboard and most insulation shed water quickly. The framing directly behind them does not, so the wall you can see dries well before the timber it is fixed to.
Framing and structural timber. End grain, notches, joints, bottom plates and timber in contact with masonry hold moisture far longer than the exposed face of a stud.
Tight, poorly ventilated spaces. Under-sink cabinetry, wardrobes, stair voids and enclosed subfloors dry slowly because no air moves inside them.
Melbourne’s mixed housing stock. Solid brick, weatherboard on stumps and slab-on-ground homes trap water differently, so one burst pipe produces a different drying job in each.
The Assessment Stage: What Gets Checked Before Drying Begins
Assessment starts once you know what you are dealing with, not when the first air mover arrives.
Source and category come first. Clean supply water, grey water, and contaminated floodwater each change both the drying approach and what can be salvaged. Category is settled by inspection before equipment goes in, following the sequence the ANSI/IICRC S500 standard sets out for residential and commercial buildings.
Trace the travel, not just the puddle. Water follows joists, framing, and slab falls, so the wet zone routinely extends well past the visible damage and into the next room.
Record a baseline before anything is switched on. Photos, video, dated notes, and moisture readings taken at multiple points and depths. That gives you something to compare against later, and something an assessor can review independently.
List what is affected and what is genuinely salvageable. Linings, insulation, cabinetry, floor coverings, and any structural timber in the wet path. Where wet areas are involved, this list links straight to the waterproofing inspection stage.
Confirm containment, access, and safety before drying runs. Isolate the area, manage electrical risk, and remove contaminated material that should not be dried in place. Nothing gets switched on until those are settled.
Drying Is a Stage With Its Own Checkpoints
Once the baseline is recorded, drying stops being a waiting game and becomes a stage that needs tight control. Air movers, dehumidifiers and temperature are set as a system, then adjusted as readings change, because a setup that was right on day one is rarely right on day four.
That is why readings are taken on the material, not the room air. A hygrometer can report comfortable conditions while the bottom plate behind the skirting still holds moisture. Air measurements describe the environment; material readings describe the structure. Only the second tells you whether the timber is actually drying.
Checkpoints are recordings taken at set intervals and compared with the previous set and the material’s own dry standard. The question at each one is whether the trend is moving the right way, not whether the wall feels dry. Professional restoration follows defined procedures for exactly this reason, and the ANSI/IICRC S500 is the reference that shapes them.
The stage ends when concealed materials hit their dry target across multiple points and the records show it. A single acceptable reading is not a pass.
When progress stalls, treat it as information. It usually means a missed water source, a cavity sealed off from airflow, or material that has to come out rather than dry in place.
What the Checkpoints Actually Confirm
A checkpoint passing confirms four things, not one.
First, that the wet zone was mapped completely, including areas behind linings, under floors and beyond the room where water first appeared. Second, that framing, subfloor and retained structural timber have reached their dry standard, rather than merely reading lower than a wet baseline taken on a damp day.
Third, that the cavity has dried, not just the room. Insulation and enclosed voids sit on a different timeline from open air, so they need their own evidence. It is the same principle behind waterproofing, moisture control and detailing in new construction.
Fourth, that readings are recorded in writing and repeatable, so an insurer’s assessor or any third party can follow the record instead of taking your word for it. Documentation sits within the scope of the AS-IICRC S500 standard, which matters when the finished repair is ever reviewed.
Until all four are met, no cavity should be closed. That gate is the subject of the next stage.
The Pre-Lining Gate: Checks Before New Linings Go On
Once those records stack up, the structure behind the wall is either signed off or it isn’t. That sign-off is a gate, and nothing cosmetic crosses it early.
No plasterboard, cabinetry or floor coverings go back until concealed readings pass their dry standard. Sealing a wet cavity doesn’t fix it, it hides it behind a surface that will blister, swell and fail.
Then question what’s going back in. Insulation and timber that water or contaminants have compromised should be replaced, not covered. That can cost a day of the schedule and it’s still the cheaper decision.
Before the cavity is closed
Confirm it’s dry and clean: no residual debris, no musty odour, no active moisture source, and airflow restored where it was previously shut off. A cavity that was damp and enclosed needs a reason to stay dry once it’s sealed again.
Match the rebuild to the original construction. Correct linings and fixings, with clearance from slabs and wet areas, so the same point of entry doesn’t fail again in two years. Reinforcement, moisture barriers and pre-pour checks follow that principle below the slab too.
Sequence the trades
Nobody gets ahead of the verification. Drying confirmed before lining. Lining before finishing. Finishing only after the structure behind it is signed off.
Hold that order and the finished repair protects dry timber rather than concealing wet.
Why Documentation Matters, Including for Insurance Repairs
A documented pass on the pre-lining gate is only as good as the record behind it. That record starts on day one.
Insurers commonly distinguish floodwater from rainwater in policy wording, and the policy supplies the definitions. Rainwater falls from the sky and runs off the surface of the land; floodwater escapes or is released from a river, lake, channel, dam or canal. When the source recorded at assessment does not match the definition, the claim can be disputed. This is why the water source and its travel path get identified and written down before any drying equipment is set up.
Gather evidence while the event is unfolding, not weeks later. Photographs, video, dated eyewitness accounts and notes on how the water entered and how high it rose carry far more weight than a recollection. Take photos as early as is safely possible. Tell your insurer within a reasonable time; delayed notification is a common reason claims are refused. The assessment record should exist from the first day on site.
Drying records do double duty. They document the damage for the claim and show the repair was verified rather than assumed, which matters if the finished work is ever questioned, or when you are assessing your insurance claim before repairs start.
Keep industry figures in perspective. Insurance Council of Australia loss data and catastrophe declarations, including the Victorian floods declared from 10 June 2021, show the scale of events. Published numbers are context, not a benchmark for your own job.
Water and Flood Damage Restoration: When to Bring in a Licensed Builder
Documentation proves what happened. It does not prove the structure is dry, and that gap is where repairs fail.
Why this isn’t a homeowner’s job
Concealed moisture, contaminated water and structural timber are not a homeowner’s call to make with a borrowed meter and a fan. Contaminated water needs removal, not air movement, and timber that reads dry at the surface can still be holding moisture deep in end grain and bottom plates. Get it wrong and you cause the exact damage the drying stage exists to prevent: lifted floor coverings, corroded fixings, mould inside a closed cavity.
One accountable party, start to finish
The work spans assessment, drying verification and reinstatement. One party should be accountable for all three, because splitting them is how a repair gets signed off by nobody. Builda Group is a licensed Victorian builder based in Melbourne’s north and working across Melbourne and surrounds, with more than 10 years’ experience across new homes, renovations, extensions, unit developments, NDIS accessibility modifications and insurance repair works. The company holds a Domestic Builder Unlimited licence, which matters where a repair involves structural work rather than a repaint and a new skirting. Where a job involves handling insurance repair works after damage events, that accountability matters more, not less.
Ask any provider how they confirm a structure is dry before linings go on. If the answer is about how it looks or feels, you have your answer about the process.
What Verified Drying Protects in the Finished Repair
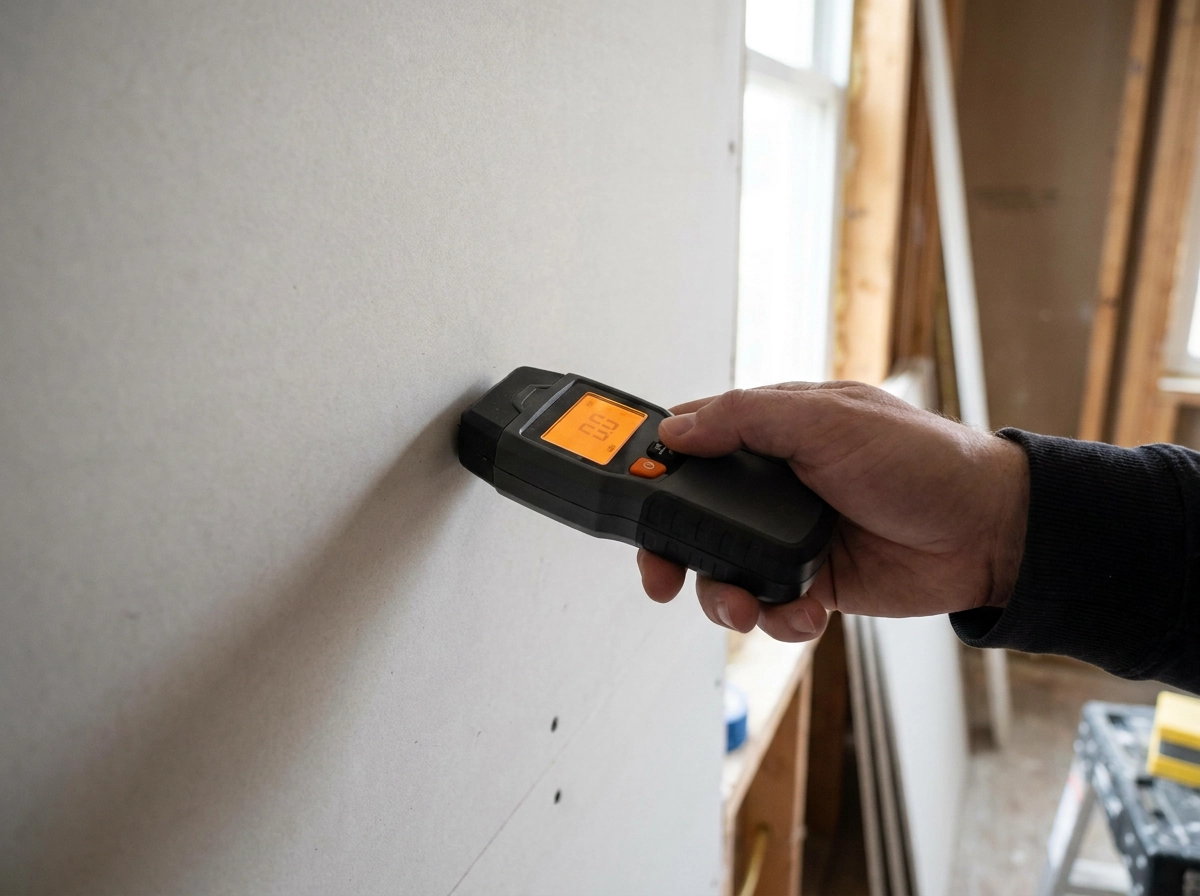
Surface dryness tells you the visible damage has been handled. It says nothing about whether the structure is dry, and only one of those protects the repair you paid for.
So the standard is simple to state, and worth holding anyone to. Assessment before drying starts. Readings logged over time, at multiple points and depths. A clear pass on concealed checks before a single sheet of new plasterboard goes on.
Get the water source and the full extent of the wet zone documented early, too. That record carries weight with your insurer and with anyone who questions the repair months or years later.
If you are in Melbourne and want the assessment, the drying checks and the reinstatement handled by one licensed builder who is accountable for the lot, talk to Builda Group. They work across Melbourne and surrounds. One signature, one standard.
Conclusion
Surface dryness is not proof. Water hides in cavities, framing and subfloors, so the real test is assessment before drying, readings logged over time at multiple points and depths, and concealed checks passed before new linings go on. Documentation matters too, because it protects your position with insurers and anyone who questions the repair later. For structural or insurance repair work, accountability should sit with one licensed builder from assessment through reinstatement. Builda Group works across Melbourne and surrounds, holds a Domestic Builder Unlimited licence, and handles insurance repair works. If you want the assessment, drying checks and reinstatement under one signature and one standard, talk to Builda Group. Then hold every repair to that standard before a single sheet of plasterboard goes on.